Designers, retailers, and renovators
AI interior design for client approvals
AI visualization can make client approvals faster when it is framed as a decision-support tool, tied to real materials, and reviewed before it enters the approval record.
Use AI for visual direction
The strongest approval workflow uses AI to show what a material or finish direction could feel like in the real room. It should not replace drawings, specifications, supplier data, or installation documents.
- Use real room photos and real material references whenever possible.
- Use color mode when the decision is a paint, trim, cabinet, or accent color rather than a physical sample.
- Label outputs as AI visualizations or concept images.
- Keep approved supplier references separate from the generated image.
Create a clean approval trail
Each approval should capture the original room photo, the selected material reference, the generated image, and notes about what the client approved. If a material came from the showfloor, keep the My Captures sample and its info-card photo attached to the decision so procurement details do not have to be reconstructed later.
- Record whether the approval is for visual direction or final specification.
- List open checks such as sample review, cost, lead time, or installer confirmation.
- Avoid asking clients to approve unlabeled inspiration images.
Review quality before sending
Check every AI result for incorrect surfaces, distorted fixtures, impossible joins, material scale issues, and changes outside the requested area. Regenerate or revise before sharing anything that could confuse the decision.
Keep professional review in the loop
AI interior design visuals are strongest when they support a professional process. Use them to reach alignment faster, then confirm final selections through samples, drawings, supplier documents, and installation review.
Visual examples
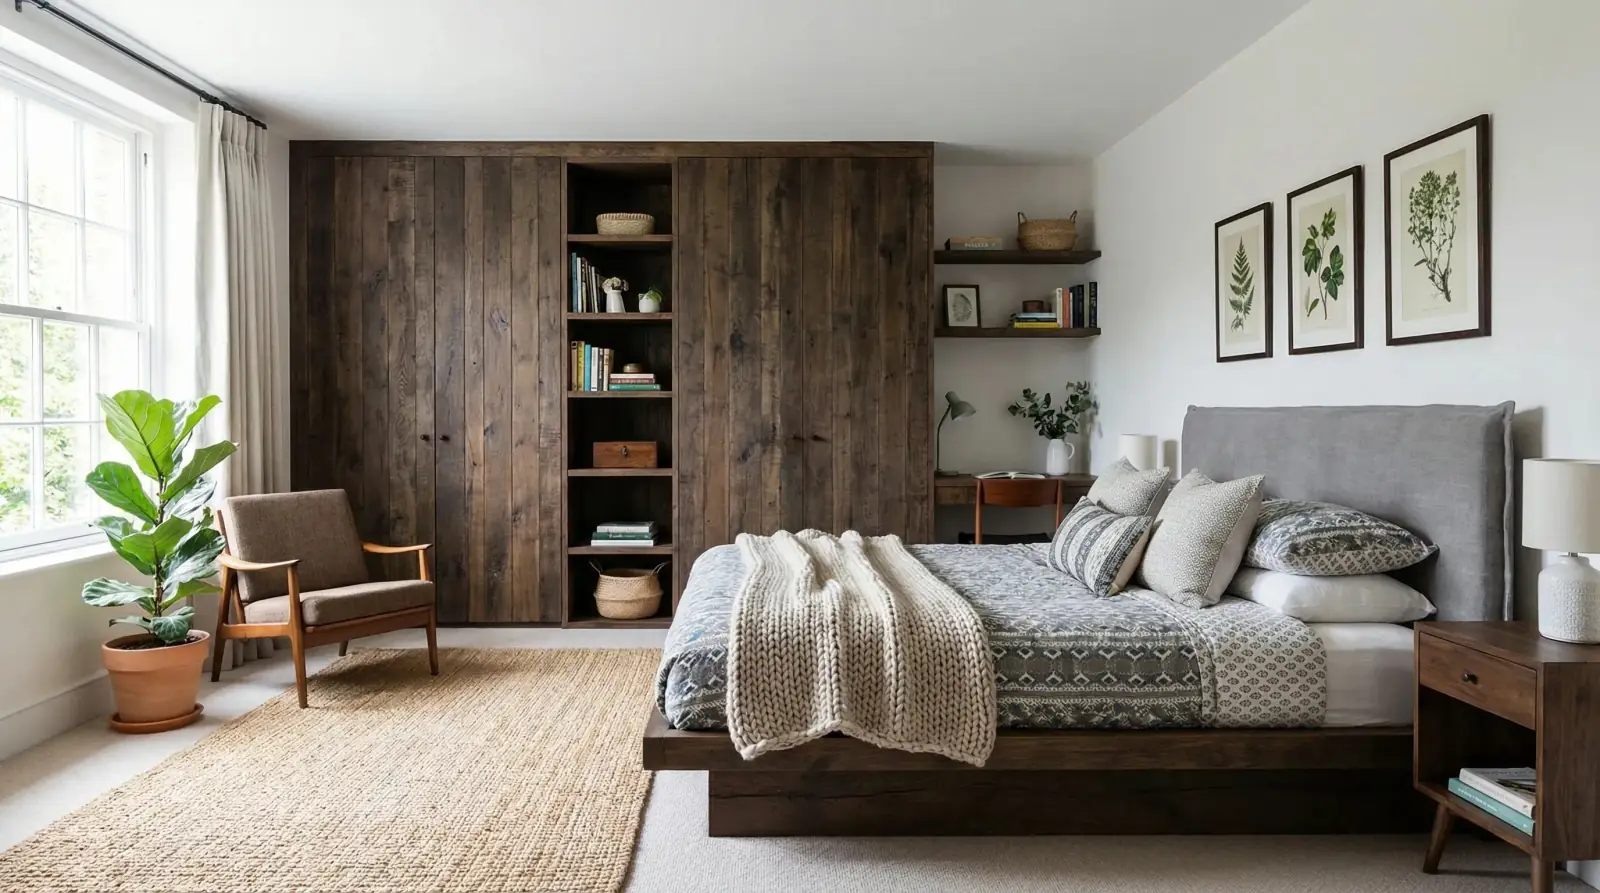
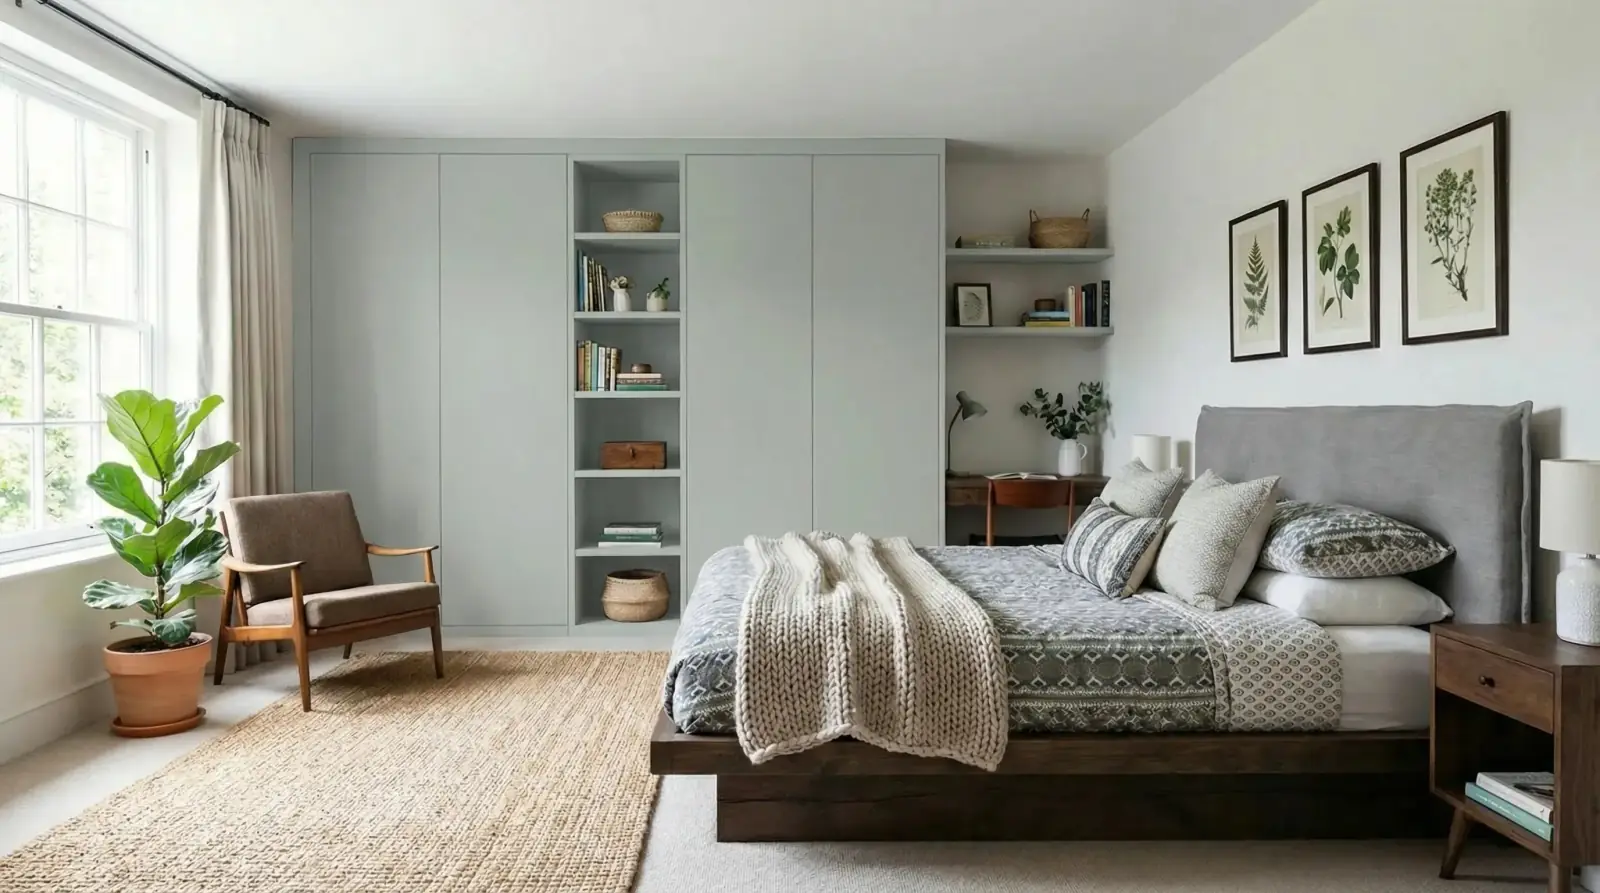
Wardrobe paint approval
A paint sample visualized on bedroom wardrobes to support a focused client approval on finish direction.
Sahara Creme paint / Bedroom wardrobes

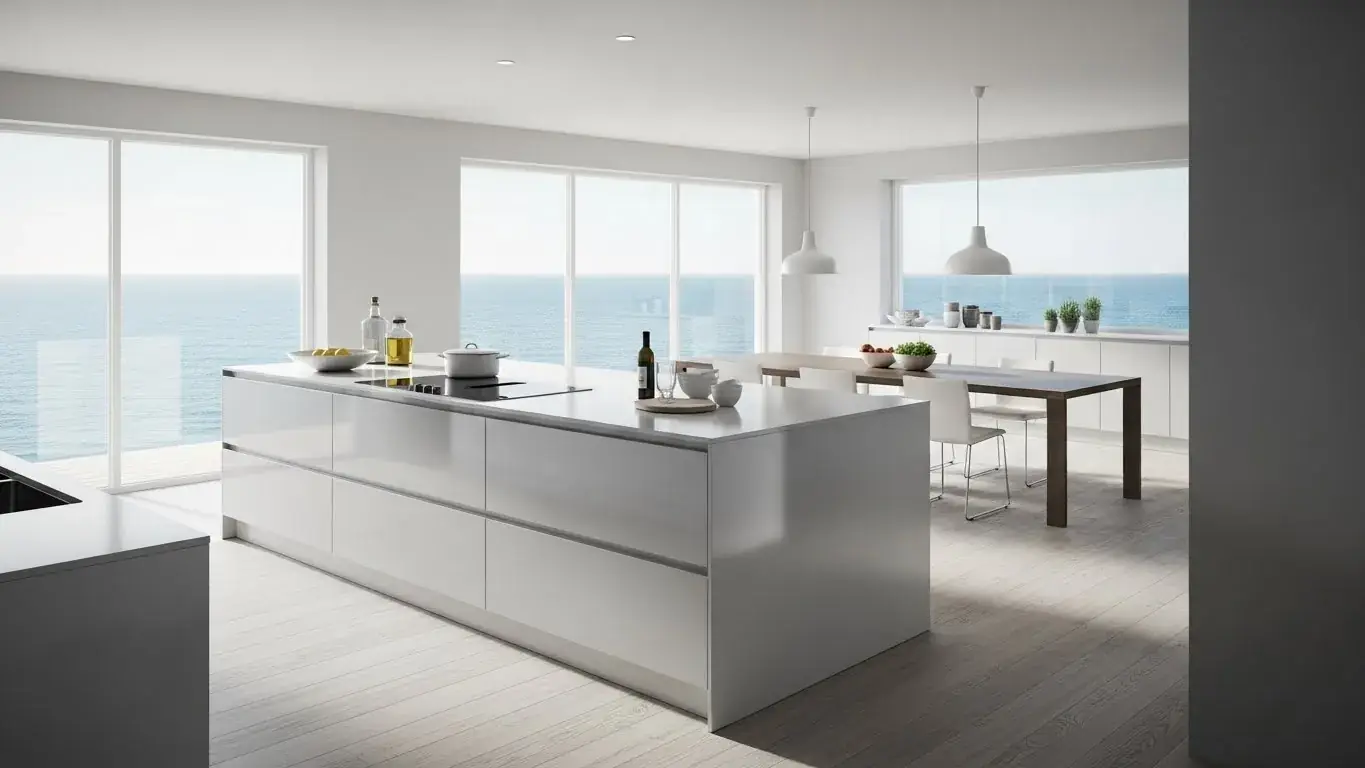
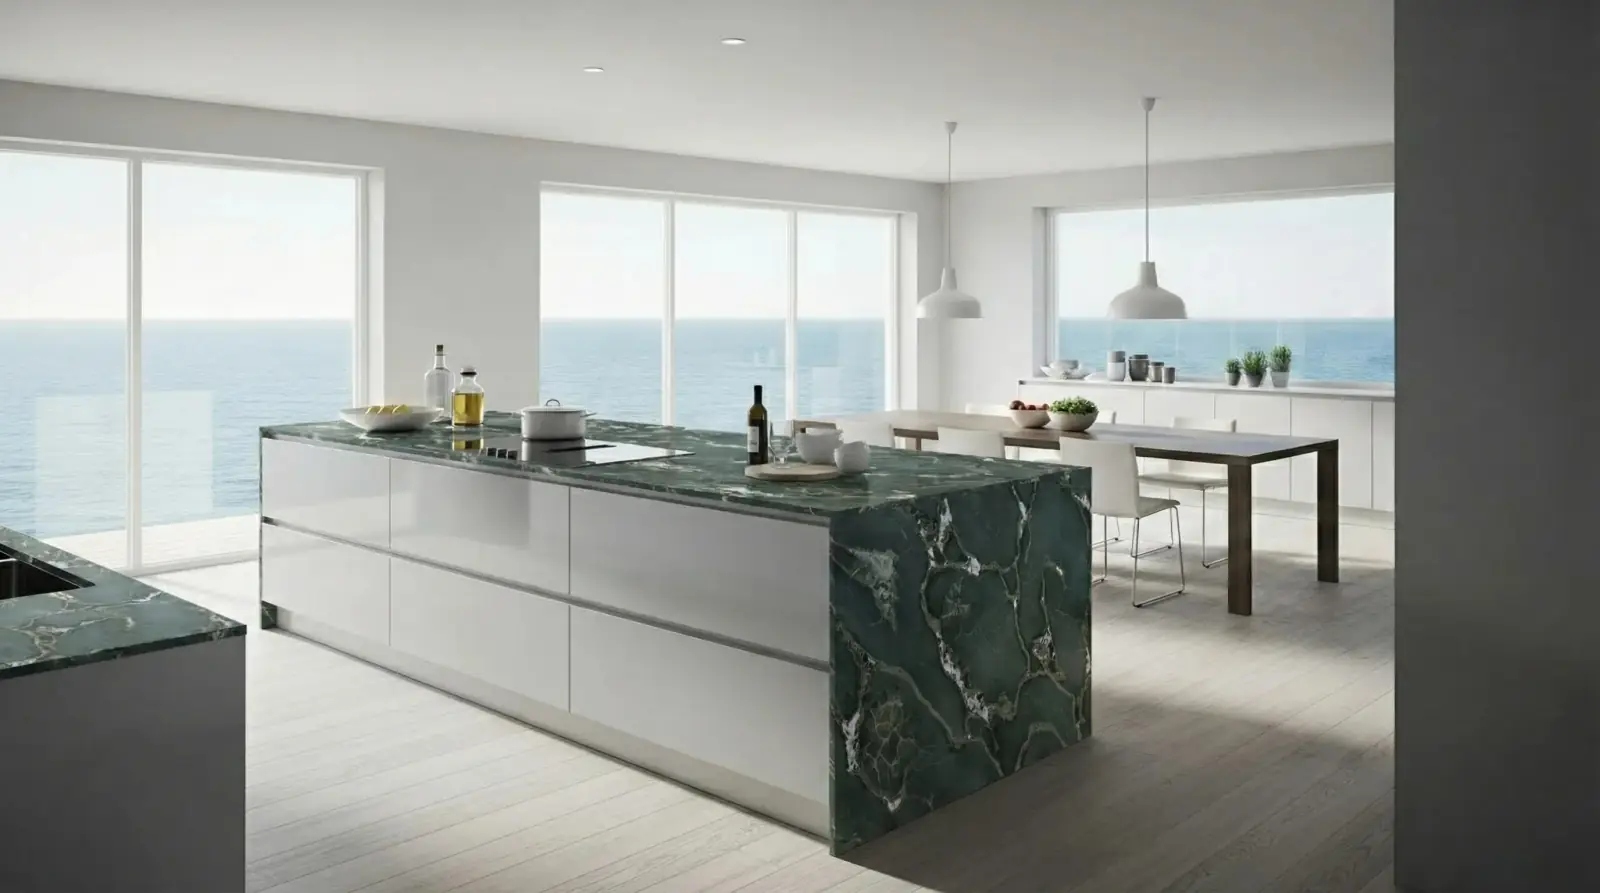
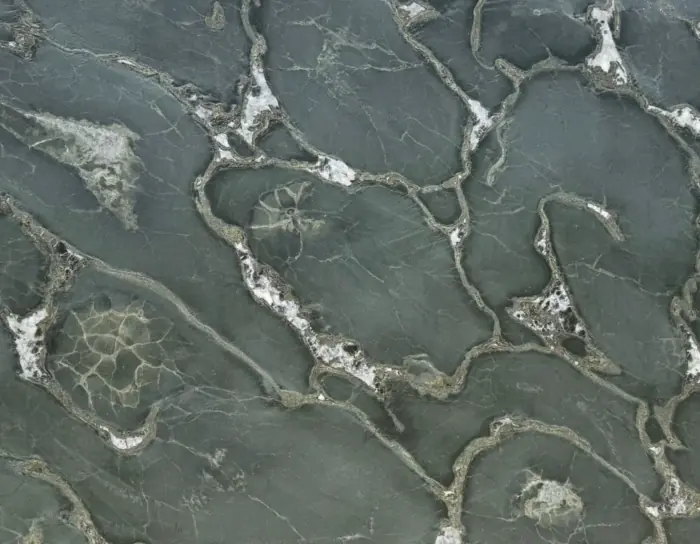
Kitchen stone approval
A stone sample applied to the kitchen island so the client can approve a material direction before final specification.
Safari Green Quartzite / Kitchen island
Questions
Can clients approve a design from an AI visualization?
They can approve a visual direction, but final product approval should still reference exact materials, specifications, costs, and installation requirements.
How should I label AI visuals in a client deck?
Use clear labels such as AI visualization, concept image, or material direction, then include the material name and target surface beside the image.
What should I check before sending an AI design option?
Check surface boundaries, scale, color direction, untouched room elements, and whether the image matches the decision you are asking the client to make. For color-mode renders, also verify the requested color code or description was applied to the intended element only.
Related pages
Try this workflow
Use RenoViz to compare material directions in a real room photo, then confirm final choices with samples and professional review.